Roseann asked about the method (putting down stitches) I used to join the sleeve to the body. It is really very similar, at least in my mind, to a three needle bind off. Here is what I do.
But first, a word of caution. What I am about to do is if the next row visible row of the sleeve is not a plain knit row. If it is just a row of all knits, the instructions are slightly different, which I will go into at the bottom of this entry.
I have ended the regular knitting of my sleeve with a wrong side row and have lined up where the sleeve goes on the armhole.
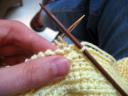
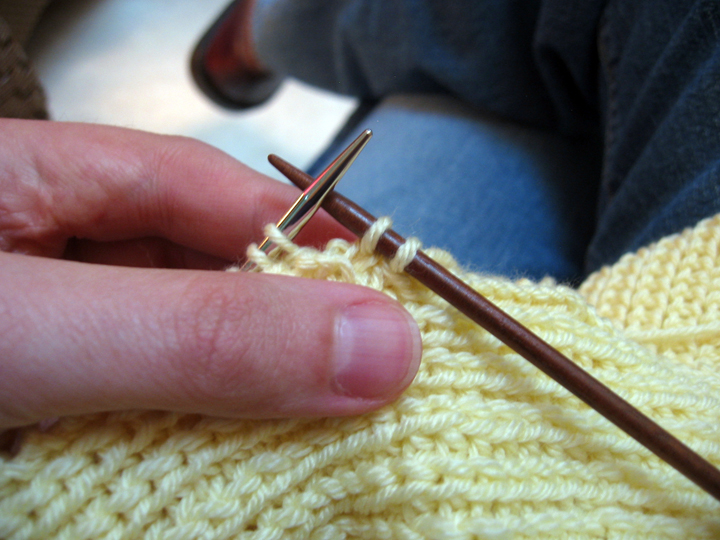
With the working needle (the wooden one in this case,) I go through the body of the sweater and through the next stitch on the resting needle (the metal needle.) I slip off the stitch from the resting needle. I am mindful of which way I slip the stitch off the needle (knitwise or purlwise,) as I have to take this into account later on.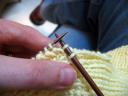
I bring the slipped stitch through the body of the sweater on the working needle, usually using the resting needle to help me get it through.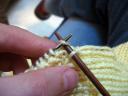
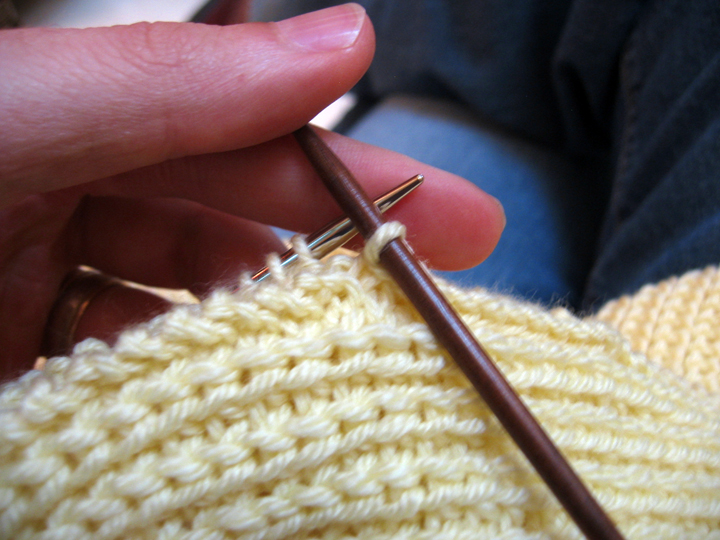
I slip the stitch back onto the resting needle and knit the stitch. This is where I have to remember which way I slipped the stitch back in step 2, as I don’t want to cross the stitch when I knit it. I usually slip knitwise in step 2, and then go back in through the front of the stitch in this step. You may find it easier to slip purlwise and such. I do recommend that you stay consistent, though, so none of the stitches get crossed.
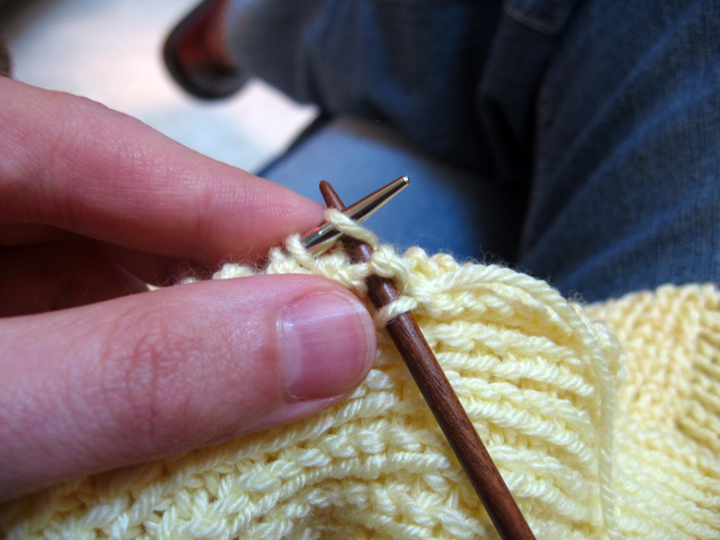
After the stitch is knitted, I bring the loop from the previous stitch over the current stitch. In other words, I bind off.
And I am ready to do it all over again with the next row of the body and the next stitch of the sleeve.


If the sleeve was all stockinette stitch, I would modify this a bit. Instead of slipping the stitch onto the working needle and pulling it through the body, I would knit the stitch, bringing the just worked stitch all of the way through to the wrong side of the body, then binding off.
As for how to even things out over the join, I do the same as if I am sewing the sleeve on: I count my rows for the armhole and stitches for my sleeve and figure out how the extra rows will get spread among the stitches. I used to be more exacting with this, like going one for one for three rows, then skip a row, etc. Now, I just go by feel, keeping in mind how many extra rows or stitches I have to account for over the course of the seam. I do tend to make the sleeve where it is supposed to meet up with the shoulder seams, as it is easier to deal with smaller lengths.
One more thing, while I am thinking of it. For drop shoulders like this, I lay out the sleeve against the body to figure out how big the armhole is going to be. Using long circular needles really helps with this. I don’t have this option with other armhole designs, as the armhole is already determined by the knitting of the front and back of the sweater.
Comments
One response to “Don’t Sweat the Technique”
Thank you for a thorough explanation of your technique. I have never seen it before and it will be very helpful for future projects. Great looking little sweater, too!