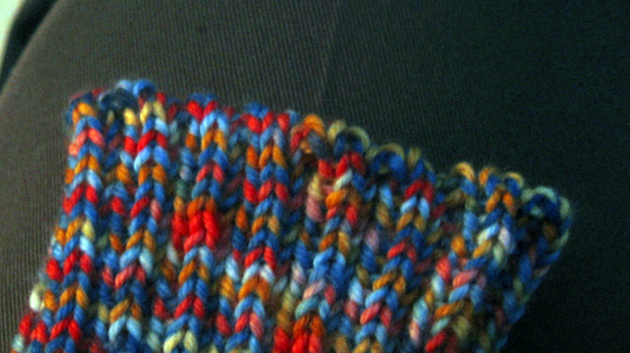
Some people have shown interest in the tubular bind off that I use, and so here is an attempt at instruction for how I do it on 2×2 rib.
Tubular bind off provides a nice amount of stretch; and I use it for toe-up socks, top down hats, neckbands, basically anything that ends with ribbing. Most instructions that I have seen show it on 1×1 ribbing, so I will be doing it on 2×2 ribbing.
The way that I figured this out thinking of it as a variation on the kitchener stitch (which explains why it is also called a kitchener bind off.) The difference being that instead of trying to join two knit fabrics on two different knitting needles, I am trying to join two knit “faces” of the same fabric on one needle.
(Apologies ahead of time for the lousy lighting in the pictures. The sun had not yet come up with I started this.)
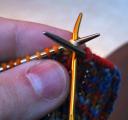
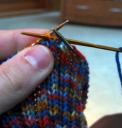
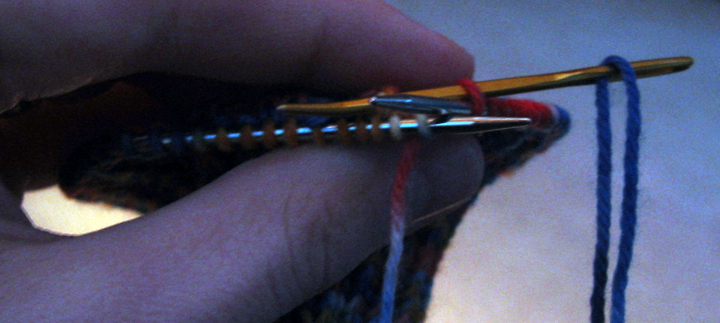
- I start the process by having the next stitch on the left-hand needle be the first knit stitch of the 2×2 rib.
- I then measure out that yarn that I need to do the sewing. Five to seven times around the stitches is plenty if the stitches aren’t really compacted together on the knitting needles.
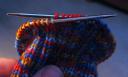
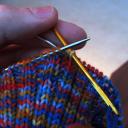
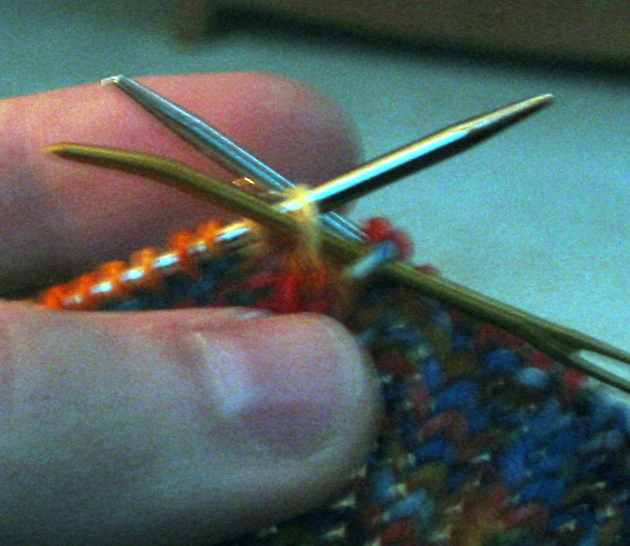
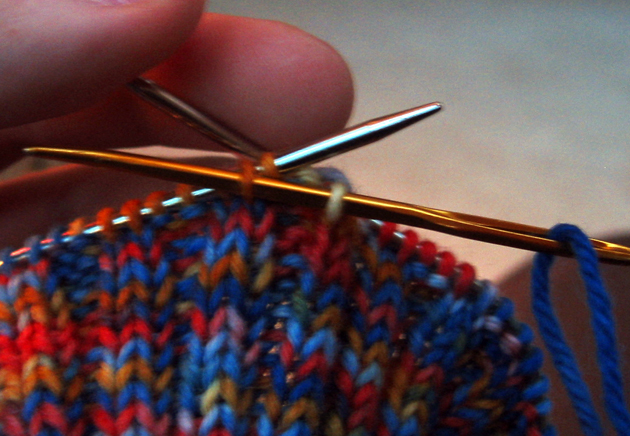
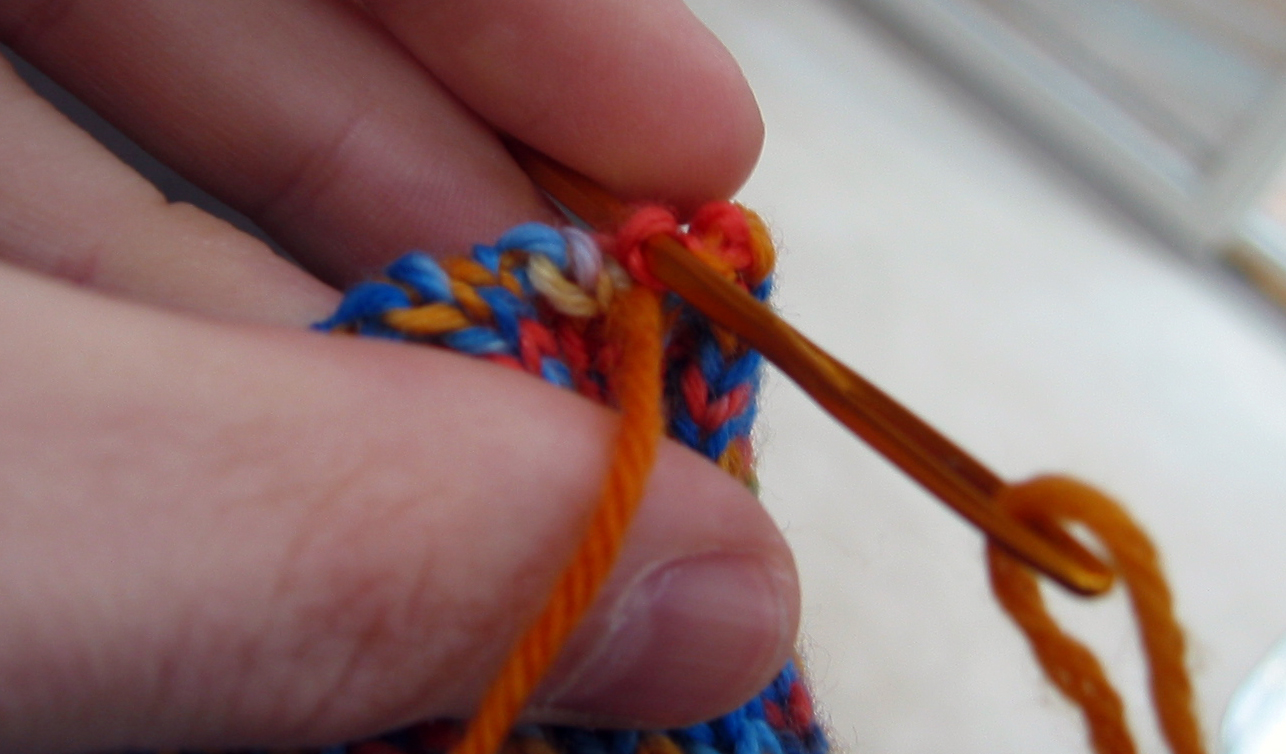
- I thread the sewing needle (a Chibi) with the yarn and bring the needle out through the first knit stitch on the left-hand knitting needle.

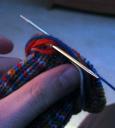
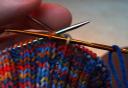
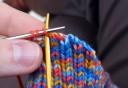
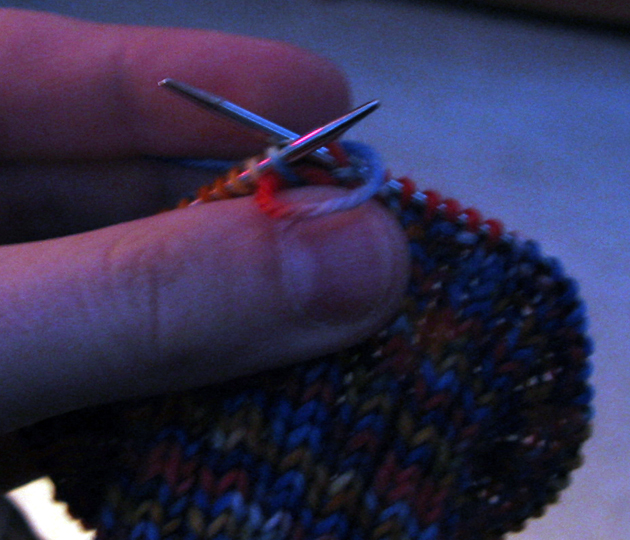
I pull the sewing needle all of the way through this stitch. Through this entire process, I stop drawing the yarn through as soon as I feel the least bit of resistance because this means one of two things: the yarn is caught on something (a knitting needle, a knot, etc.) or the end of the yarn has been reached. If the cause is some kind of obstruction, I take care of it and keep pulling, otherwise I move on to the next step. I believe this to be the key to getting a nice even bind off with plenty of stretch. - Next, I put the sewing needle into the last stitch on the right-hand knitting needle and out through the first purl stitch on the left-hand knitting needle.

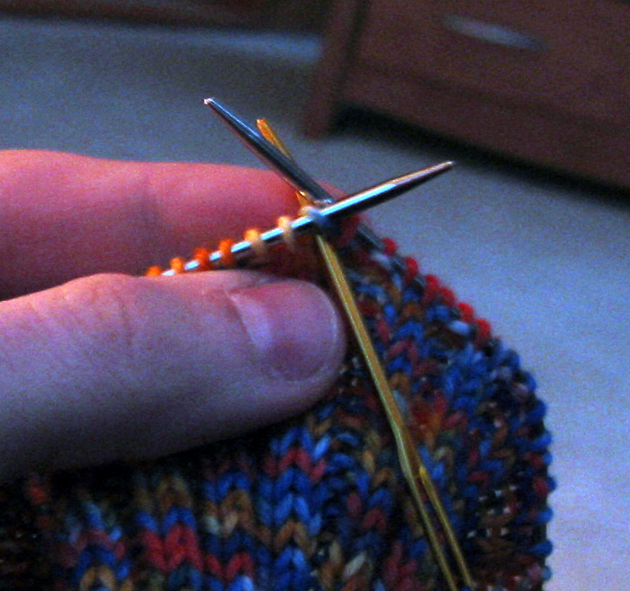
Again, I drawn the yarn through these stitches.

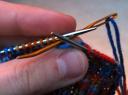
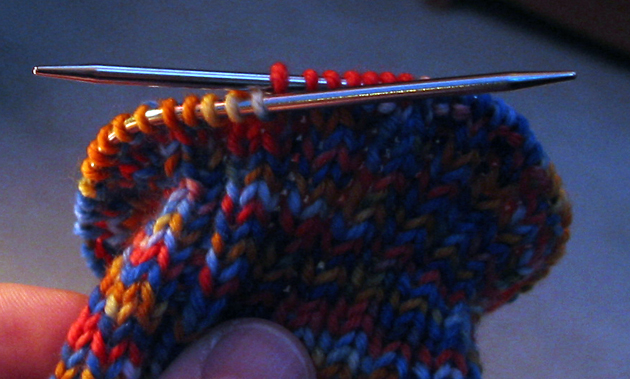
I make sure that the sewing yarn stay underneath the needles, otherwise I might mistake the sewing yarn for an actual stitch on the knitting needles. - Here is where the repetition comes in. Everything from here on out happens on the left-hand knitting needle.
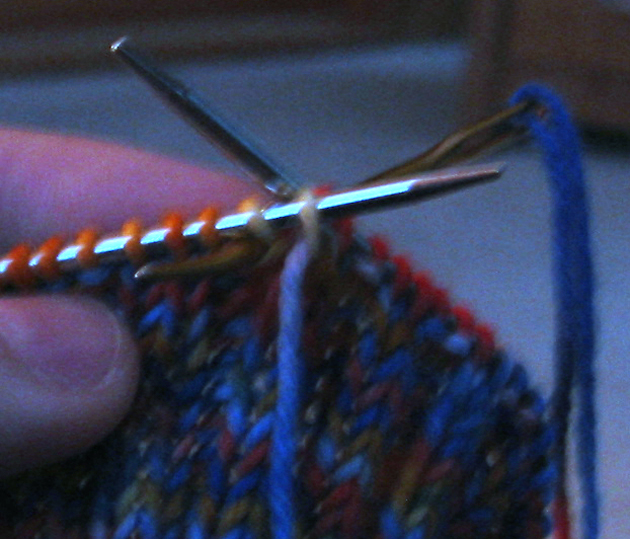
I bring the sewing needle in through the first knit stitch of the rib,

take that knit stitch off of the knitting needle,
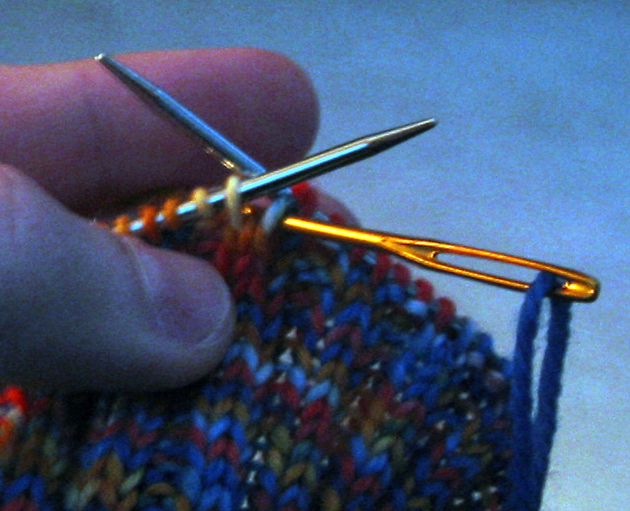
bring the sewing needle out through the next knit stitch on the knitting needle,

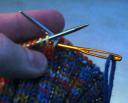
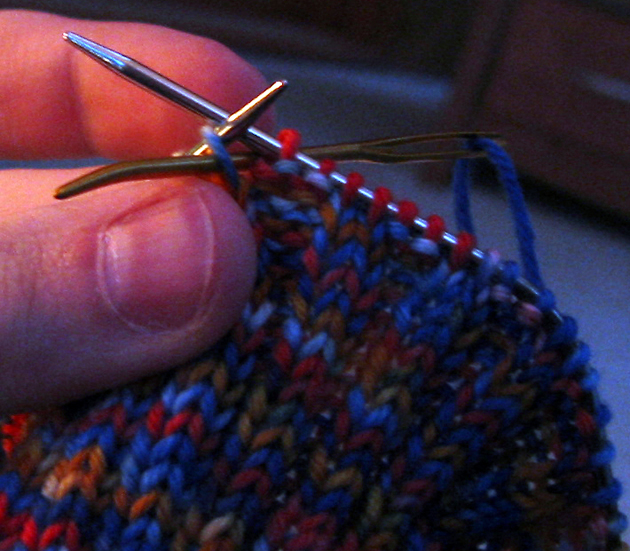
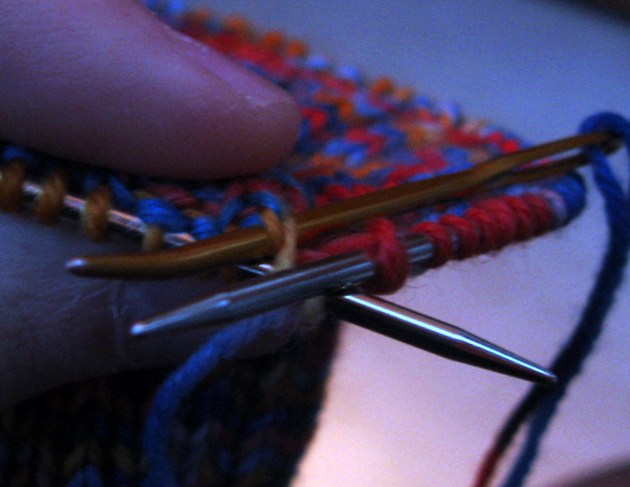
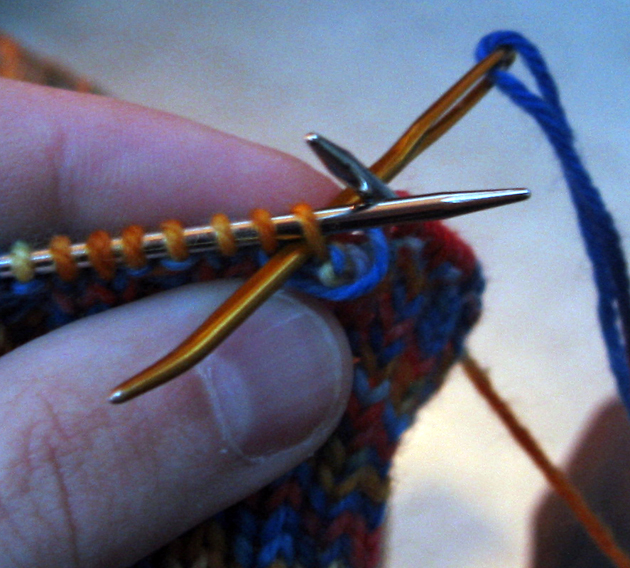
and draw the yarn through the stitches. - Next, I put the sewing needle into the next purl stitch on the knitting needle, which will be the second stitch from the knitting needle point.

I then bring the sewing needle out through the next purl stitch on the knitting needle (the third stitch from the end of the knitting needle.)

Please note that the sewing needle stays under the knitting needle for all of this. The sewing needle movement is really one movement for me, with the tip of the sewing needle barely getting through the first stitch before it is coming out of the next stitch.
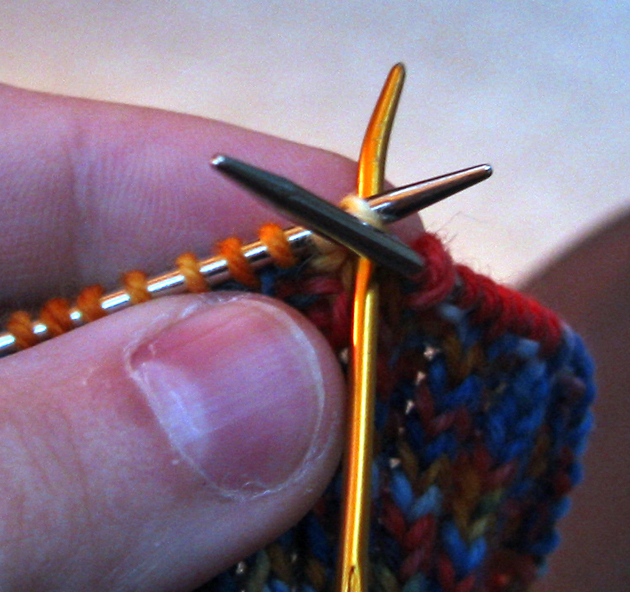
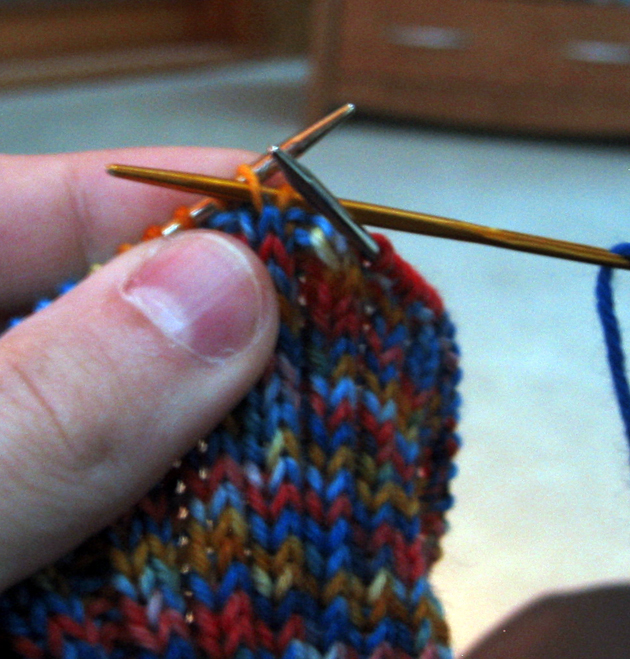
I drawn the sewing needle and yarn through these purl stitches. - I then put the sewing needle into the knit stitch at the end of the knitting needle
and take this knit stitch and the next purl stitch off of the knitting needle.
I am taking two stitches off of the knitting needle here to make up for not taking any stitches off of the needle in the last step. I couldn’t take the purl stitch off because the knit stitch at the end of the needle was blocking it at the time.
I bring the sewing needle out through the next knit stitch, which is now the second stitch from the end of the knitting needle.
The sewing needle and yarn are drawn through these stitches. - I put the sewing needle in through the purl stitch at the end of the knitting needle,

take that stitch off of the knitting needle,
bring the sewing needle out through the next purl stitch on the knitting needle (third stitch from the end of the needle,)

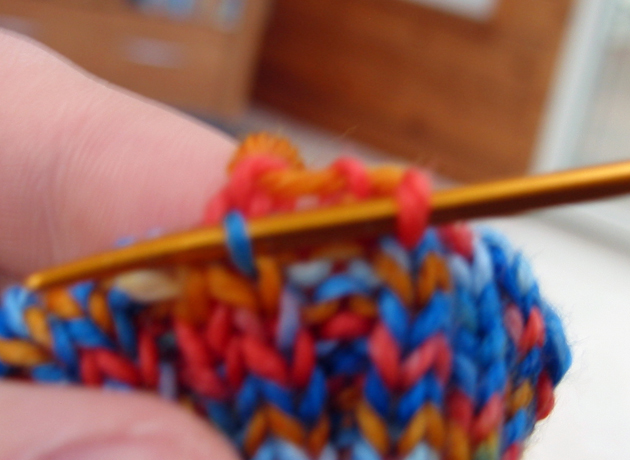
and draw the sewing needle and the yarn through these stitches. - From here, I continue going around the knitting with these last four steps until I get near the end,
with three stitches left on the needle. - At this point, I am going into a knit stitch with the sewing needle.
The other two stitches on the knitting needle (purl stitches) have already been worked with the bind off, so the knitting needle can be completely removed. I place the sewing needle into the very first knit stitch that I worked to link up the beginning and the end of the bind off.

- So that the yarn ends up on the wrong side of the garment, I go in through that last purl stitch in the round.

This amounts to same stitch as the very first stitch I did in this whole process.


The sewing yarn is now ready to be woven in.
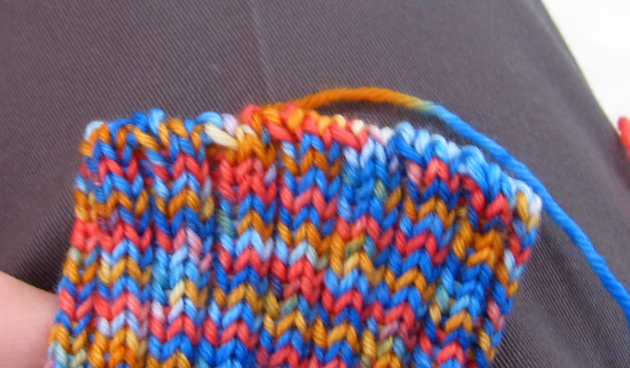
Leaving me with socks that were ready for the Project Runway finale!
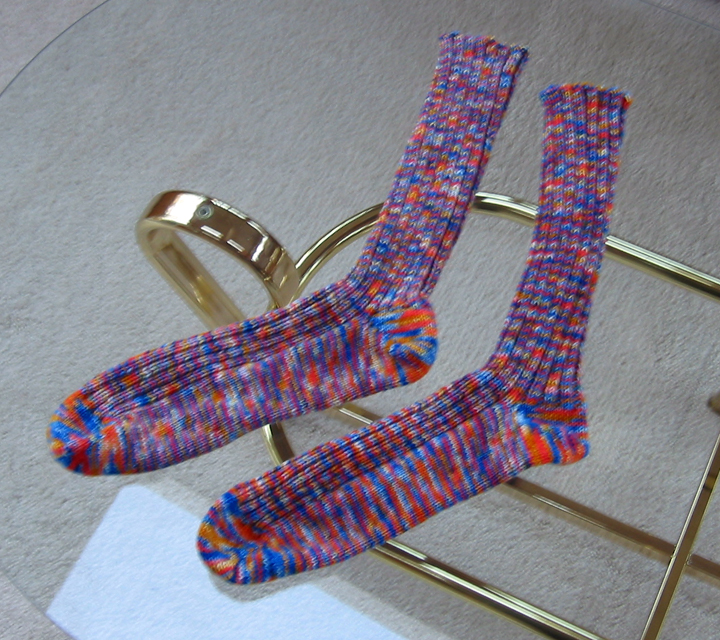
Fierce! (Actually, I was kind of disappointed that Christian won. I think Jillian is the better designer. A lot of Christian’s pieces in the final collection look too much like pieces that he did in previous episodes.)
Comments
7 responses to “End of the Road”
Oh yes, that technique is… fierce! Thanks for the tutorial. It’ll really come in handy.
I was a little disappointed that Christian won too. I’m also disappointed that the season is over. Now what will we do until Season 5?
I agree about Christian and Jillian and I know it is about the designs but Christian has so much personality for one so young! But I would wear Jillian’s.
THat is some early morning knitting! Thanks for the technique. I really need a stretchier bind off for my socks.
Very helpful – thanks!
Thank you for your thorough tutorial. I have attempted this before with mediocre results and I quickly tired of re-grafting. Now I want to knit some toe up socks so I can try it!
Here are a couple of thoughts: when I do this, I start with the first st on the left needle being the second st of a k2 pair — in other words, there’s a knit st at the end of the right needle and another at the start of the left needle. This seems to make the BO skew less. Also, I slip all of the knits onto one dpn and the purls onto another so that I can work like a regular Kitchener st. Some people think that’s less fiddly, and others think that it’s more fiddly. And I owe you an email reply, which I will do soon now that the worst of my deadlines is past…
What an excellent tutorial, thanks!
I found Multiple Tabby Weaves at amazon – here is the link directly to the listing – http://www.amazon.com/Multiple-Weaves-Shuttle-Monograph-Thirty/dp/0916658376/ref=sr_1_1?ie=UTF8&s=books&qid=1205246505&sr=8-1
Woodland Woolworks also carries it. It’s a very interesting resource. I usually include links to the books I mention, but I forgot for this one! Thanks for the comment and question; I’ve added a link to the post as well.
I would be one of those people who’s interested in this. Thanks for the tutorial!